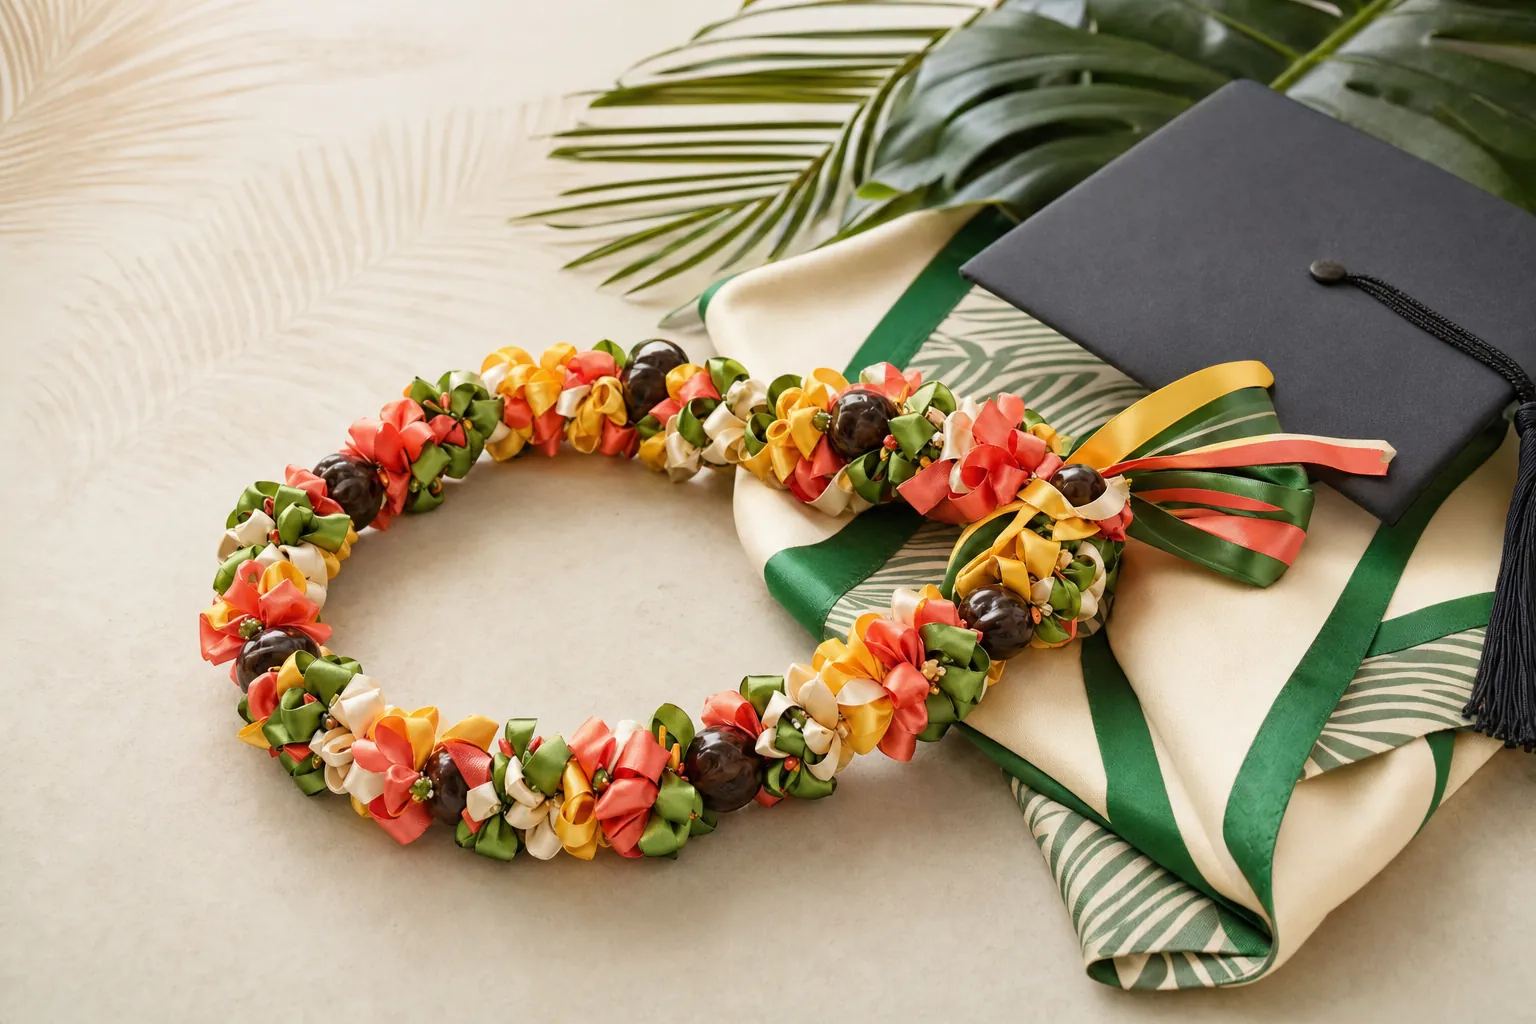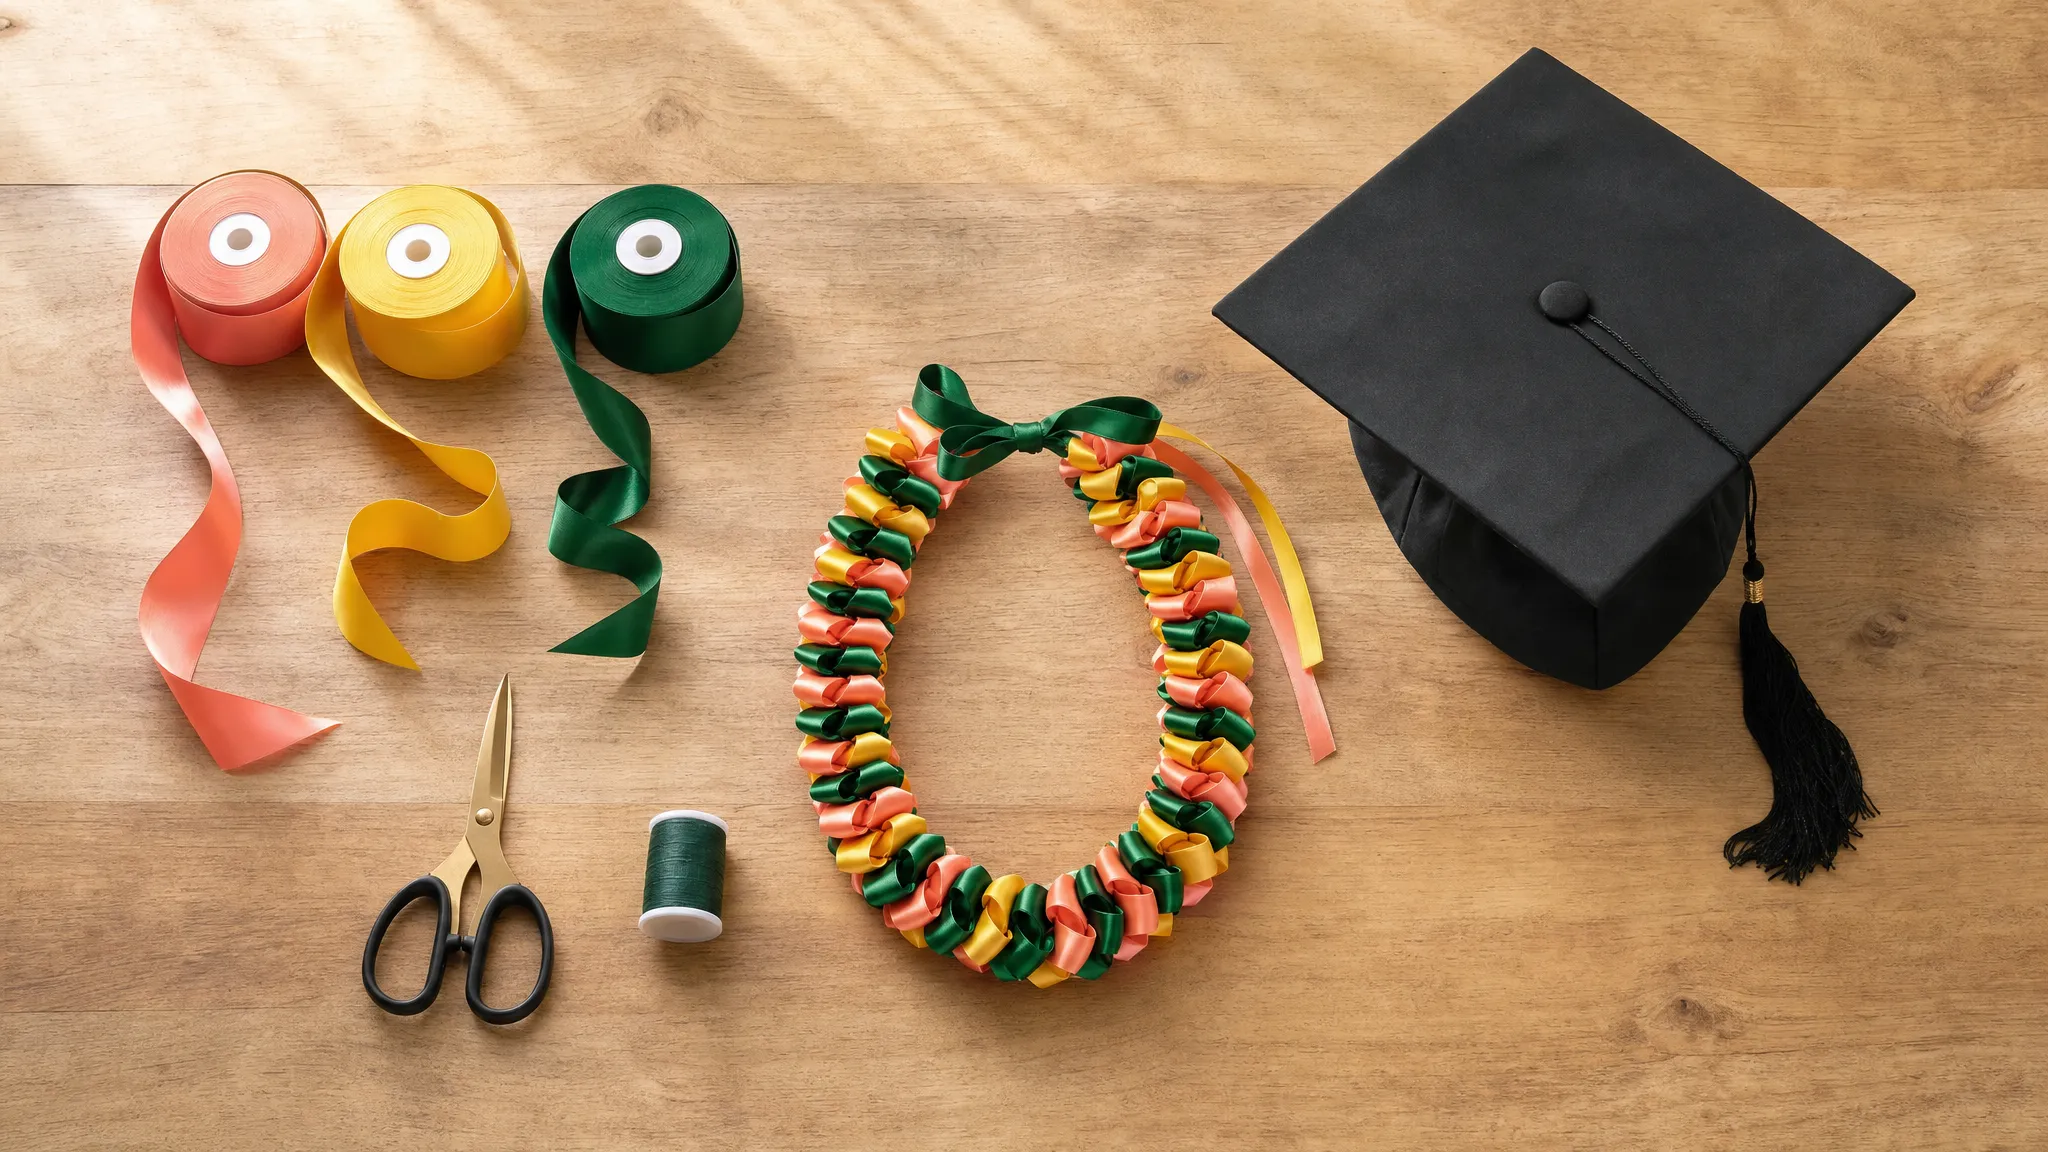
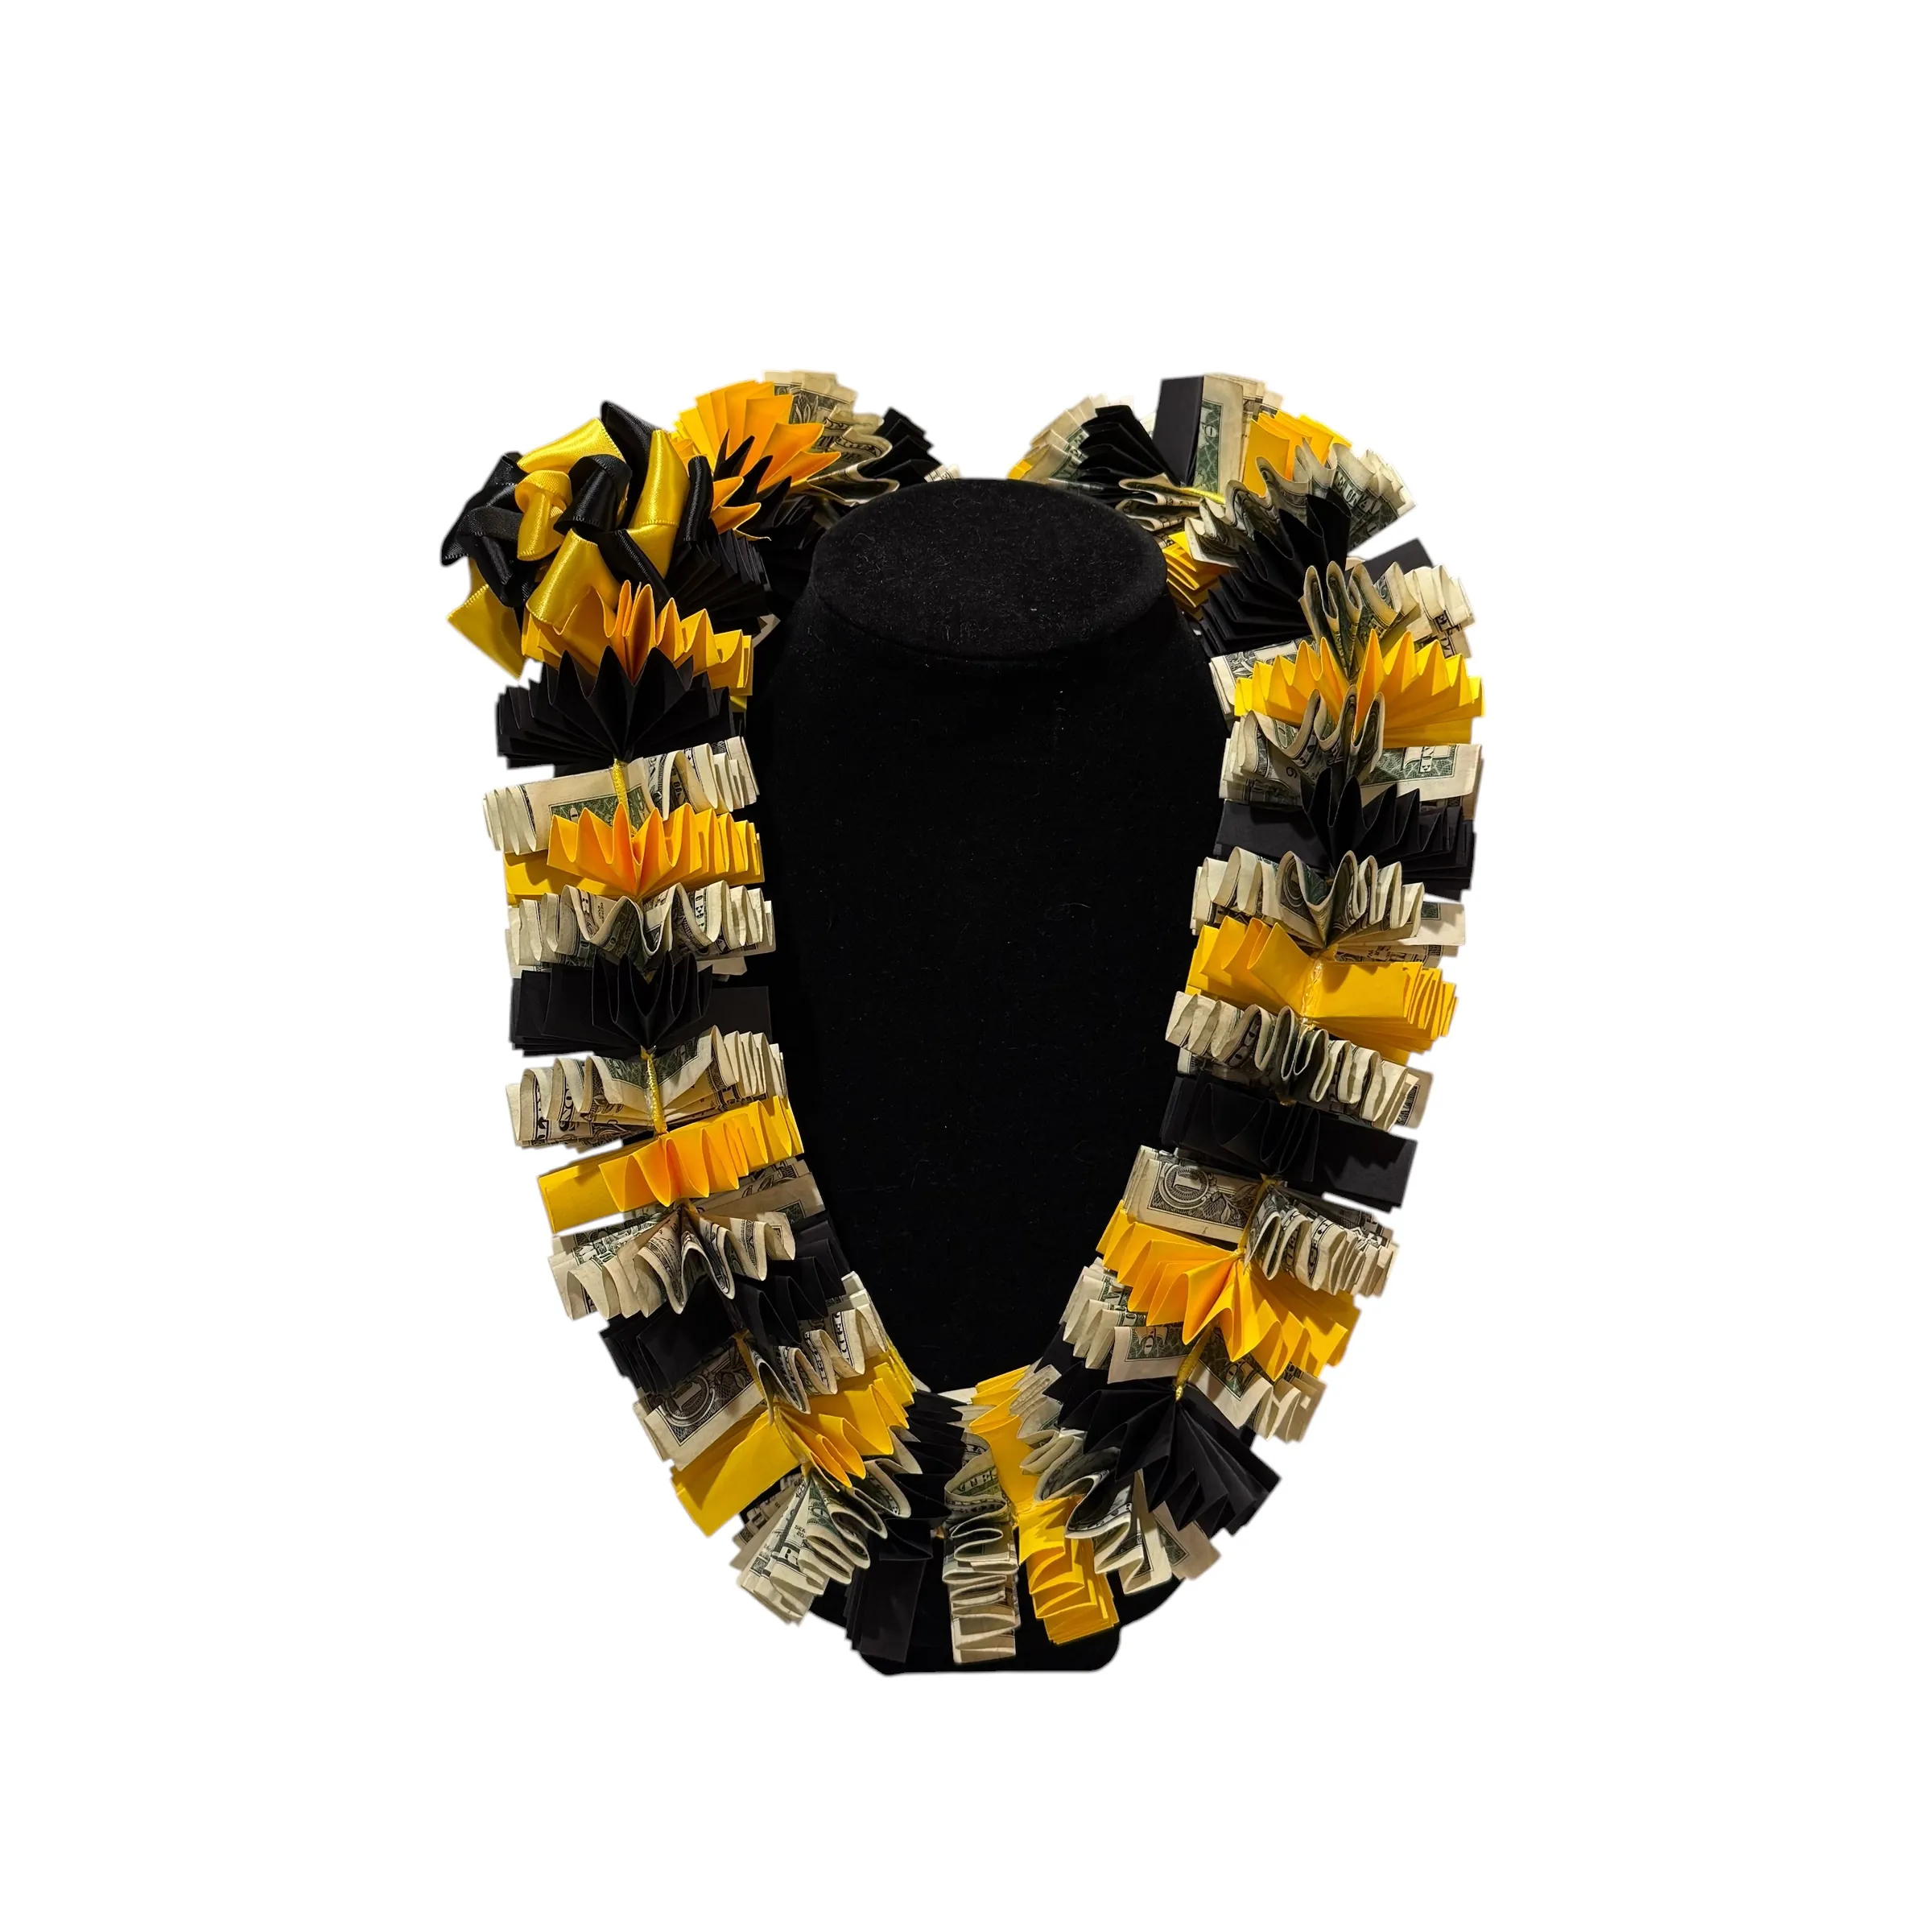
A money lei can turn a practical graduation gift into something the graduate can wear, unwrap, and remember. The key is not making the most elaborate piece in the room. It is planning a comfortable, balanced gift that reflects the graduate and still lets everyone enjoy the ceremony, photos, and celebration.
Start with a simple money-lei plan
Before you fold the first bill, decide what you want the lei to feel like. A light, simple design works well for a graduate who will be moving through a crowded ceremony and lots of photos. A fuller piece can make a dramatic reveal at a party, but it needs more time and a stronger base. Begin with the budget, the graduate's colors, and the moment when you plan to give it.
Choose a total amount that feels right for your relationship and budget. A money lei is a presentation, not a test of how much you spend. A smaller amount can still look thoughtful when the colors, ribbon, and card feel personal. If several relatives are contributing, decide on one total before anyone starts folding so the design stays balanced.
It also helps to think about how the graduate will use the gift. Some families want the bills to be easy to remove after photos. Others want a keepsake ribbon base that can be saved after the cash is taken out. Both work well. The practical choice is the one that fits your time, materials, and how much handling the lei will go through.
Plan the budget, length, and balance together
It is tempting to start with the cash amount and make every design decision after that. A better approach is to plan the budget, the length, and the overall fullness at the same time. A short lei with too many folded bills can feel dense and heavy. A long lei with only a few sections can look unfinished. The right balance is usually a comfortable base with money placed where it will be seen clearly from the front and sides.
Start by deciding whether you want a light everyday-style lei, a fuller photo-piece, or a large party reveal. For a wearable piece, leave enough open ribbon between the money sections that it can bend and settle naturally. For a display-focused gift, you can build more fullness near the front, then keep the back lighter so it still sits comfortably around the neck.
Think through who will be giving the gift, too. One person may prefer a simple budget and a small handwritten note. A larger family group can divide the amount into equal contributions and use a unified color palette. Either way, give the cash enough room to be visible. The point is to celebrate the graduate, not make them manage an awkward, overfilled craft project during a busy day.
1. Choose a base that can carry the weight
A money lei needs a base that holds its shape without feeling stiff against the shoulders. A ribbon lei, a soft cord with decorative sections, or a lightweight faux-flower base can all work. Pick a material that matches the amount of cash you plan to attach. A few bills can sit on a simple ribbon strand. A fuller design needs a broader, stronger structure with room between the sections.
Keep the base comfortable. Graduation gowns, stoles, cords, medals, flowers, and more than one lei can add up quickly. Avoid a hard or rough backing that might catch on the gown. When you are unsure, make the base first, hold it in a U shape, and check whether it hangs naturally. It should rest around the shoulders rather than pull forward or twist.
Color is where a money lei becomes personal. Favorite colors, school colors, or a classic graduation combination such as black and gold all work. Limit the palette to two or three main colors so the folded money remains easy to see. If the graduate already has a bright stole or a colorful gown, a simpler ribbon combination often photographs best.

2. Gather supplies before you begin folding
Set yourself up at a clear table with enough room to see the full length of the lei. This prevents the common problem of building one side too full, then discovering the other side has no room left. Keep the cash, ribbon, fasteners, scissors, and any decorative pieces in separate small piles so you can work without stopping every few minutes.
- Clean, flat bills: choose the denominations that fit your budget, then smooth them before folding.
- A comfortable base: ribbon, cord, or a lightweight lei form that is strong enough for the finished weight.
- Decorative ribbon or paper: use it to create breathing room between money sections and bring the colors together.
- A secure removable attachment method: avoid anything that tears, glues, or permanently marks the bills.
- A roomy container: use a box, tote, or garment bag to protect the finished gift on the way to graduation.
Make a short sample before you work on the whole piece. Fold one bill, place it beside a ribbon section, and test the attachment. Look at it from a few feet away. This is the moment to decide whether the folds look too small, the ribbon feels too busy, or the base needs more support. A ten-minute sample can save an entire evening of rebuilding.
3. Fold each bill with the same repeatable shape
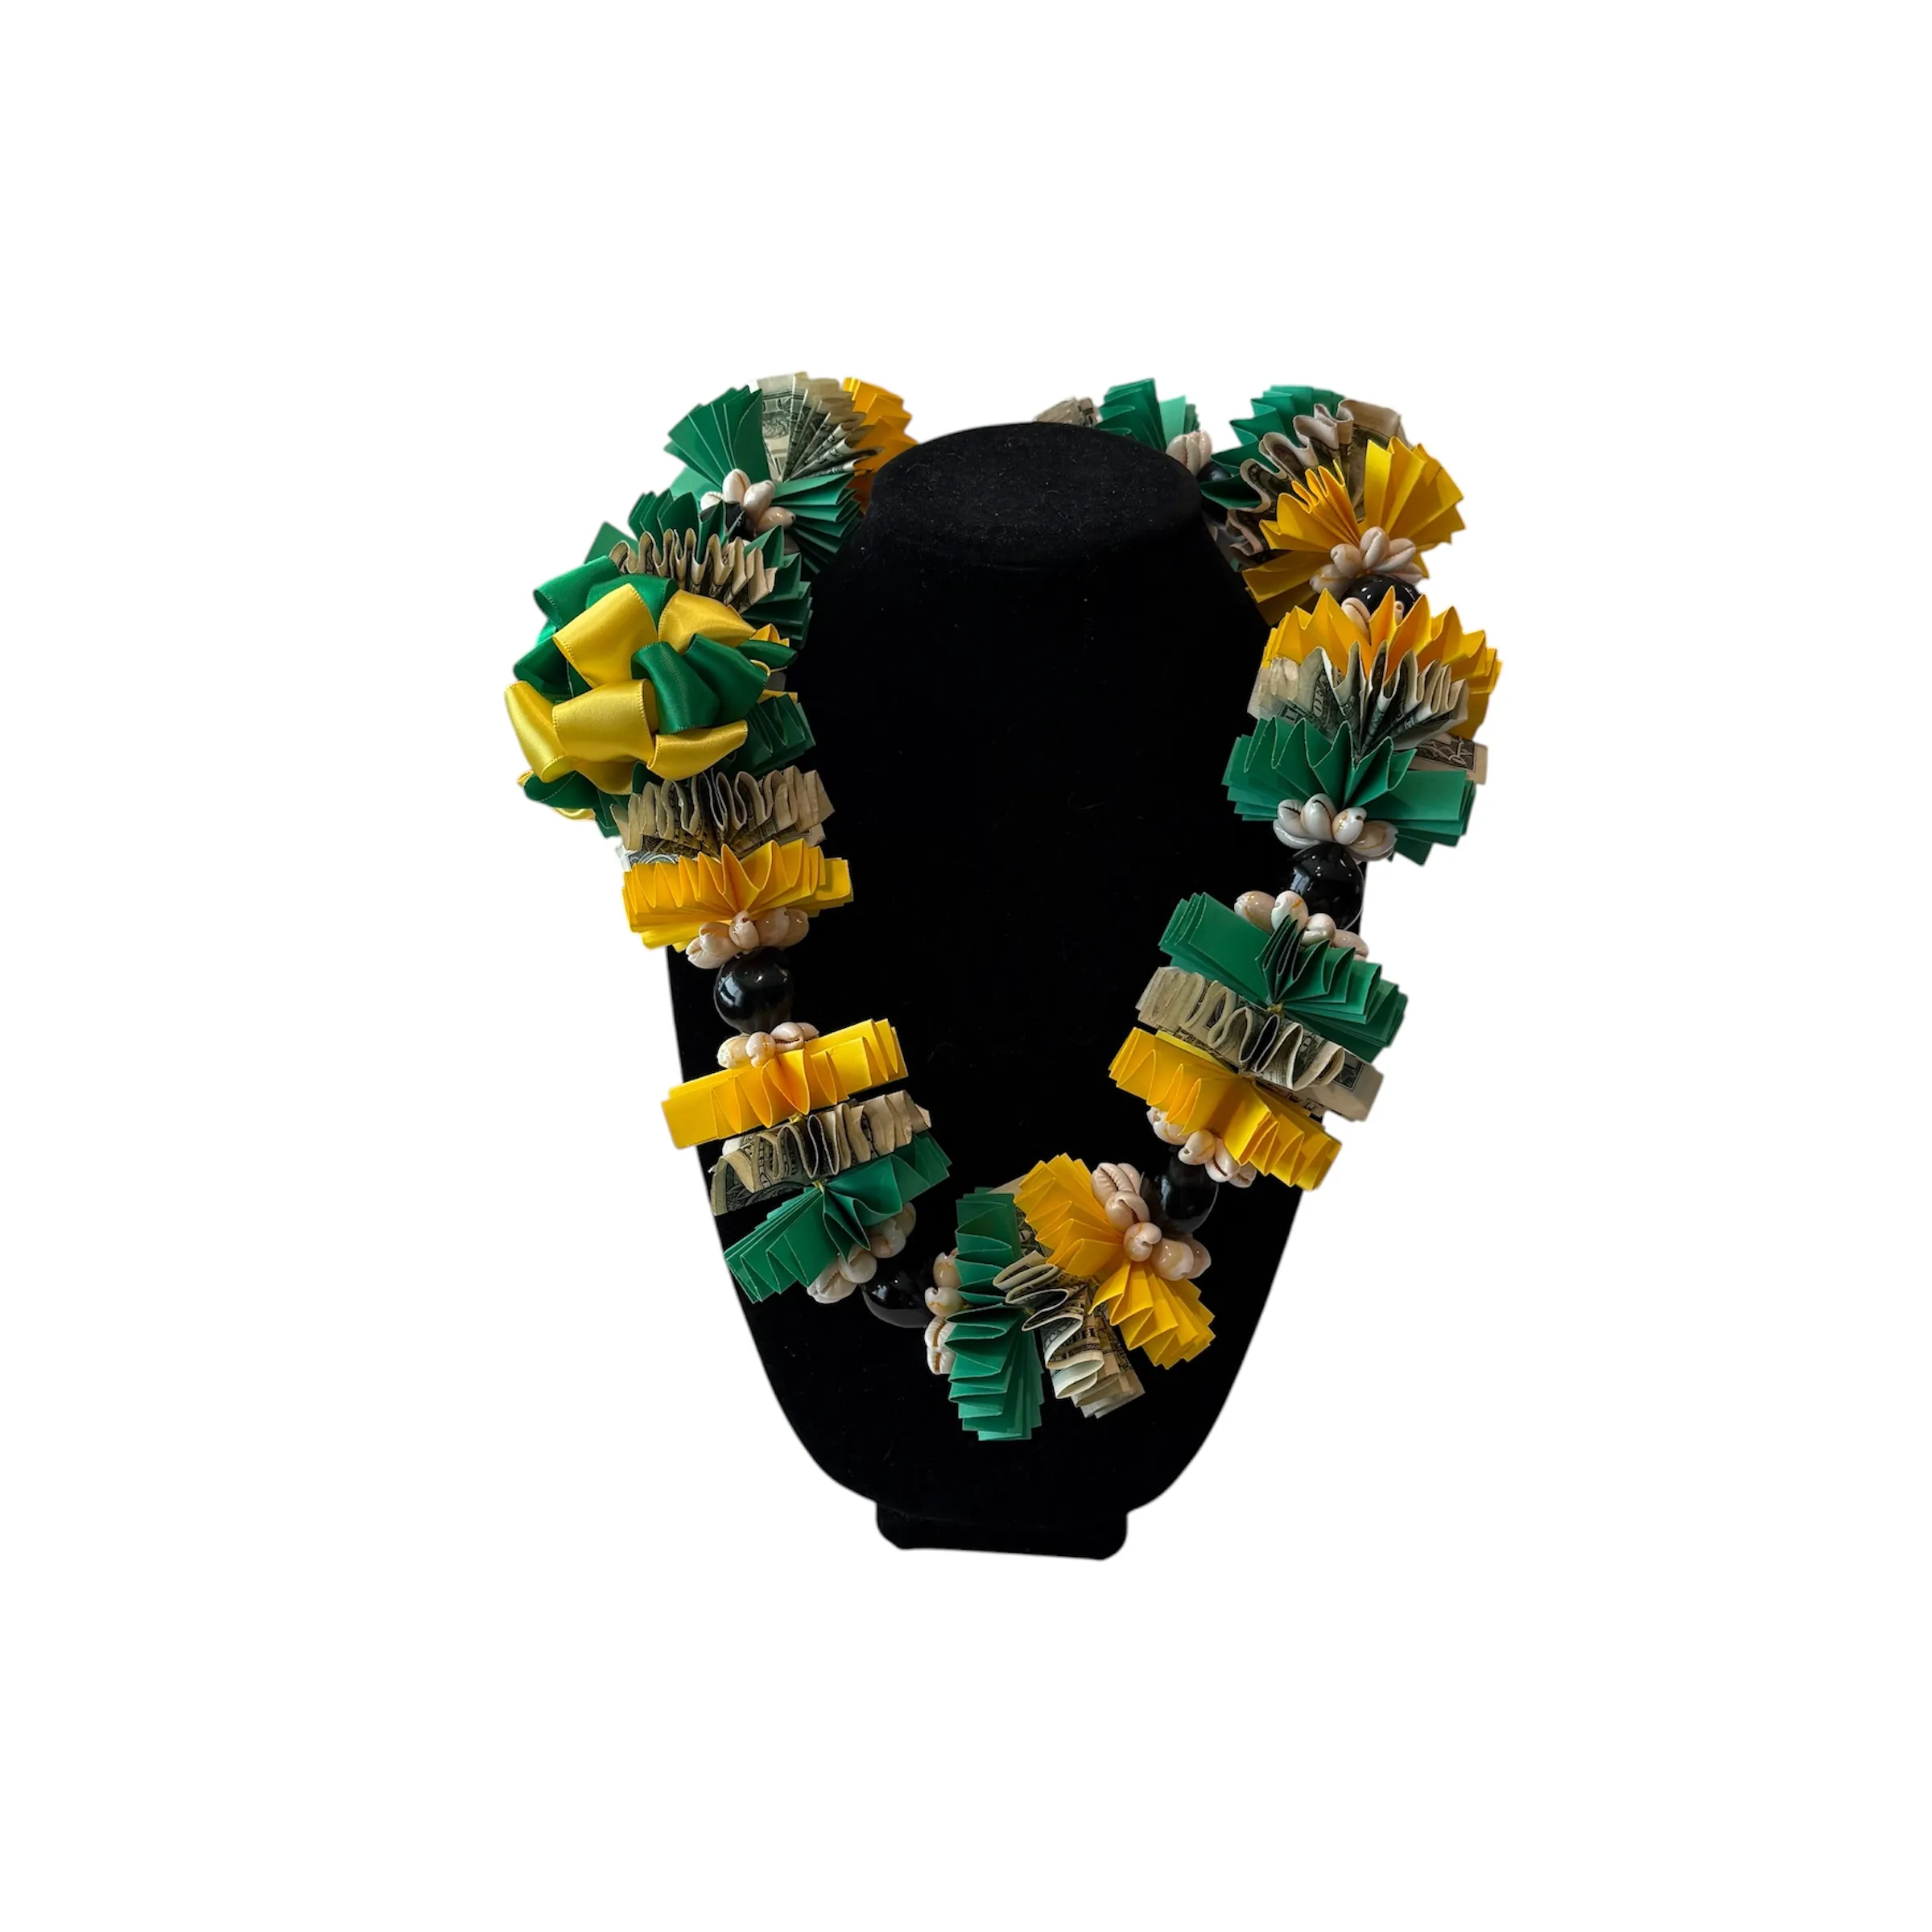
Consistency matters more than a complicated fold. A simple fan, accordion, or bow-shaped fold gives the lei texture and makes each money section read clearly in photos. Choose one method that you can repeat comfortably, then keep the size and spacing similar from one section to the next. The finished lei will look more intentional when the folds follow a rhythm.
Work slowly enough to keep the bills neat. Press each fold gently rather than sharply creasing the same spot again and again. Place the completed folds in a tray or shallow box so they do not slide around the table. If you are using different denominations, decide whether you want to alternate them or group them deliberately before you start attaching anything.
Do not try to fill every inch with cash. Ribbon, paper fans, flowers, or small color blocks give the eye a place to rest and keep the lei from becoming heavy. Those spaces also make the money easier to see, easier to remove later, and less likely to bunch up when the graduate moves.
4. Build the lei in balanced sections
Lay the base flat and find the center point first. Build outward from that center so the two sides stay close in weight and fullness. Add one money section to the left, then a matching or comparable section to the right. Step back every few additions and lift the lei gently by its ends to see whether one side has started to pull lower than the other.
Leave a little open space near the back of the neck. The graduate needs a comfortable place to hold or adjust the lei, especially if they are also wearing a stole or more than one gift. Keep the most detailed sections toward the front and sides, where they will show in photos without pressing against the back of the gown.
Attach the bills so they can be removed without a struggle. The cash is part of the gift, not permanent decoration. A careful, removable attachment keeps the experience easy for the graduate and lets the ribbon base become a keepsake after the celebration. Before you continue, gently shake each finished section and check that nothing shifts or snags.
5. Add details that fit the graduate
Once the money sections are secure, add a few details that make the lei feel like it belongs to one person. A small graduation cap, a bow in a favorite color, paper flowers, a short note, or a charm can be enough. The strongest designs usually have one clear idea rather than every possible decoration at once.
Personal details should not make the lei difficult to wear. Avoid sharp edges, heavy objects, or anything likely to get caught in hair, tassels, or gowns. If you want to include a card or a longer message, give it separately. That keeps the lei comfortable while still making the moment feel personal.
A practical finishing touch is a small tag that names the giver or includes a short congratulations. Keep the message simple. The graduate will be busy greeting people and taking photos, so a few heartfelt words are more likely to be remembered than a long note they cannot read until later.
6. Check the fit and protect it for the big day
Before the event, hang the lei loosely on a chair back, mannequin, or hanger to check the shape. The front should sit where it will be visible in photos, while the sides should not pull down or bunch around the shoulders. If the design feels too heavy, remove a few pieces or replace a dense section with ribbon. A lighter lei is easier to enjoy all day.
For travel, lay the lei in a roomy box or wide tote with enough space around the folded sections. Do not force it into a small gift bag. Keep it clean, dry, and out of a hot car. Bring it with you to the ceremony, then decide whether it is best to present right after the graduate walks or later at the party. School rules and the graduate's comfort should make that decision.
When you give it, pause for the moment. Let the graduate lower their head, settle the lei around their shoulders, and adjust it before photos begin. If they already have several gifts, offer to hold the extras between photo groups. That small bit of help makes the money lei feel celebratory instead of cumbersome.
When a made-to-order money lei makes more sense
DIY is a wonderful choice when making the lei is part of the celebration. It gives family and friends a way to add time, color, and personal meaning to the graduation gift. But a detailed money lei takes patience, careful balance, and a clear work surface. There is no need to turn the week before graduation into a late-night craft emergency.
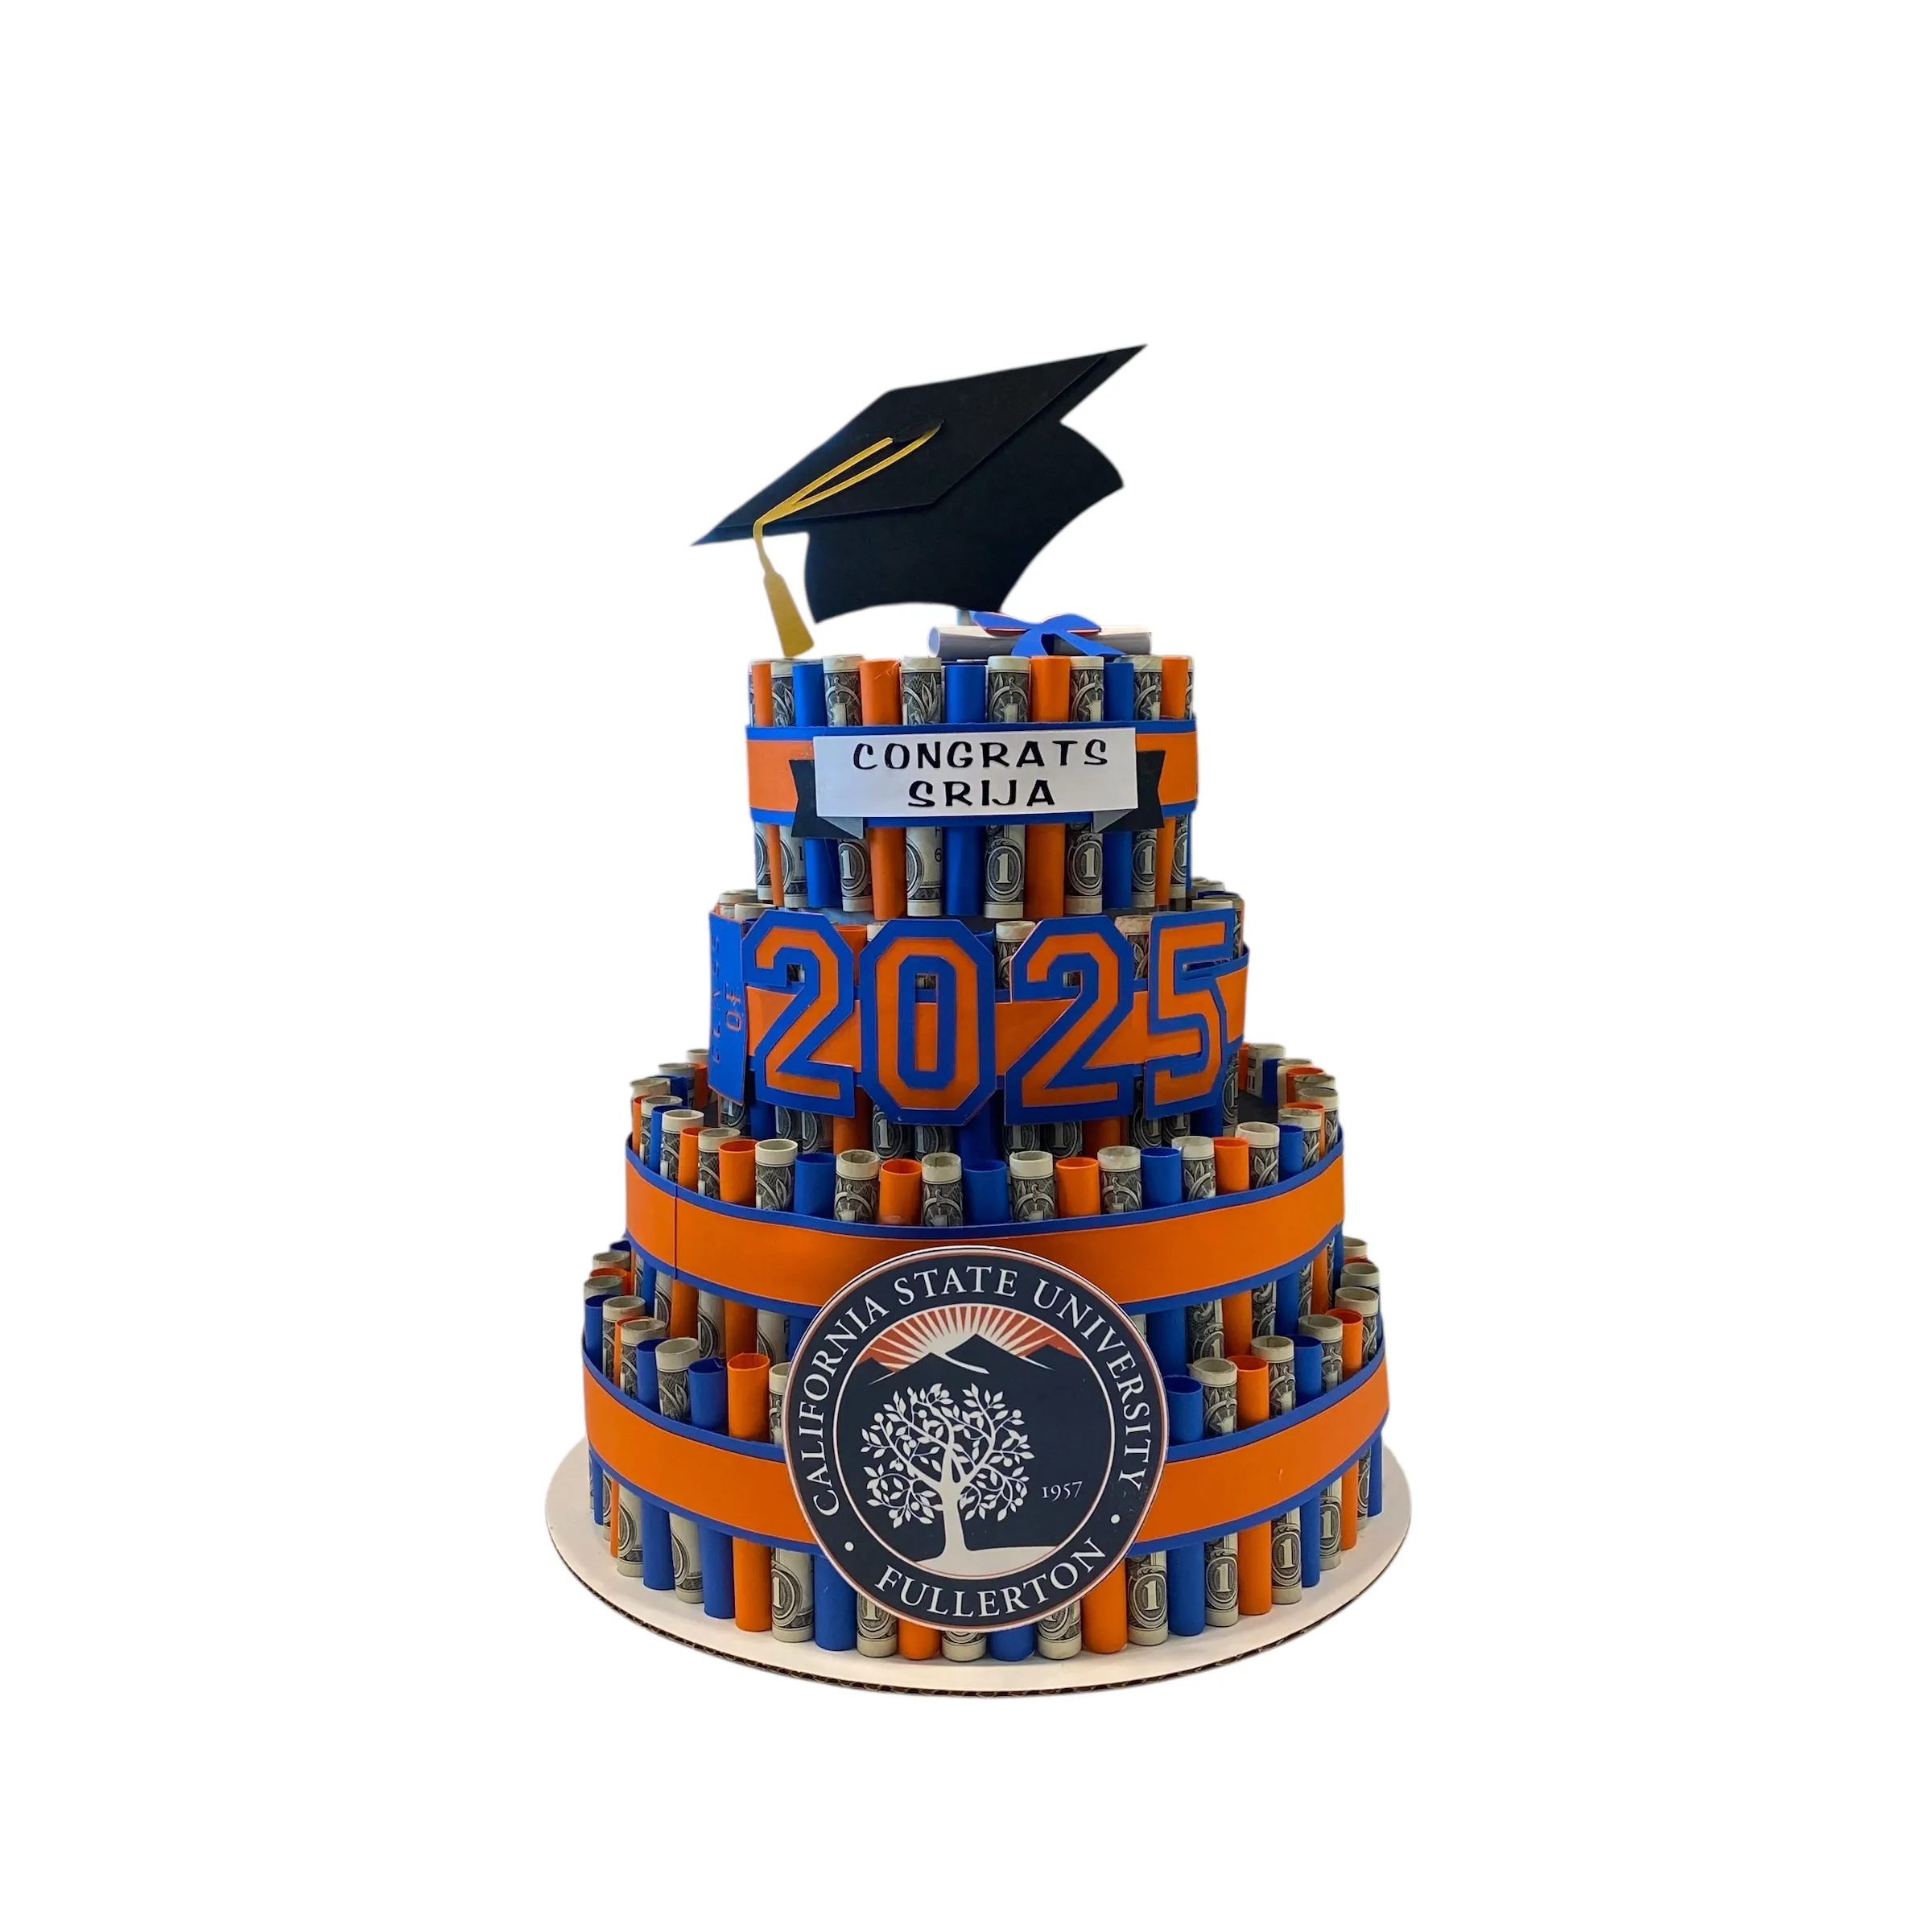
AlohaKitashima creates made-to-order graduation money leis for families who want a polished handmade piece without building one from scratch. The money gifts collection also shows recent money-lei and money-cake styles, while the contact page has direct ways to ask about current availability.
A quick money-lei checklist
- Set a budget and choose the amount before you begin the design.
- Use a comfortable base that can carry the finished weight.
- Make a short test section before folding everything.
- Repeat one simple bill fold and build outward from the center.
- Leave ribbon or decorative space between money sections.
- Keep the attachments secure but easy to remove later.
- Store the finished lei in a roomy container and check school guidance before the ceremony.
For more help choosing the right style and timing for the day, read our guide to graduation leis. If you would rather start with a non-cash handmade option, the graduation lei DIY guide shares paper and ribbon ideas that are easier to make with a group.
Frequently asked questions
How much money should go in a graduation money lei?
There is no required amount. Start with a budget that feels comfortable, then choose a design that looks full enough without making the lei heavy. A smaller amount can still feel generous when it is paired with a card and a thoughtful presentation.
Can I make a money lei the night before graduation?
Yes. Make it a day or two ahead when possible, then store it flat or loosely hanging in a clean, roomy box or garment bag. Keep it away from food, moisture, and anything that could crush the ribbon or folded bills.
What is the easiest way to attach money to a lei?
Use a sturdy ribbon base and attach each folded bill with an easily removable method that does not tear or permanently mark the currency. Work in small, evenly spaced sections so the weight stays balanced around the graduate's shoulders.
Should a graduate wear a money lei during the ceremony?
Check the school's graduation guidance first. Many families give a money lei after the ceremony, when the graduate can enjoy it in photos without worrying about dress rules, assigned seating, or a cap and gown.